“The work is done before the fun.”
– Burright creed (selectively heeded)
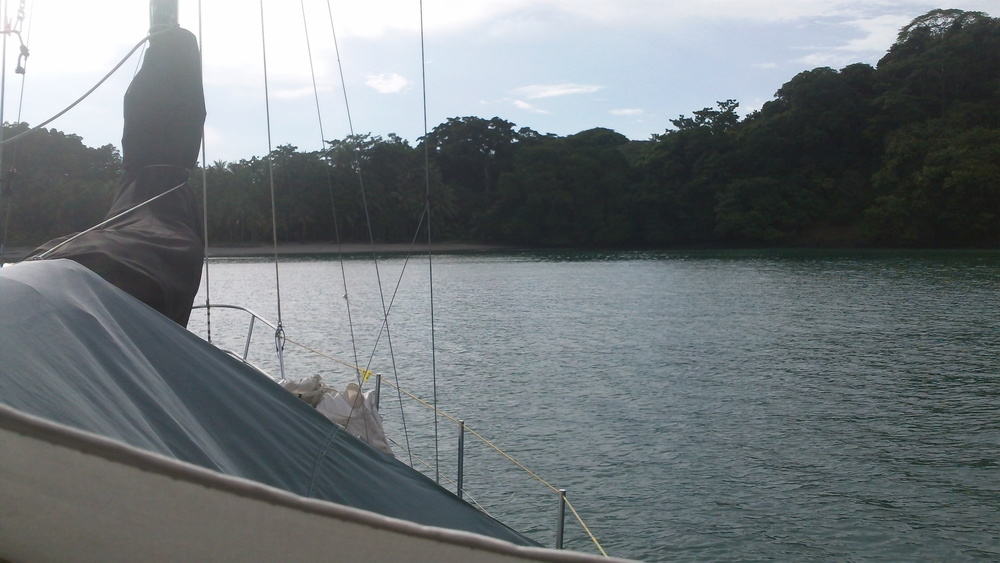
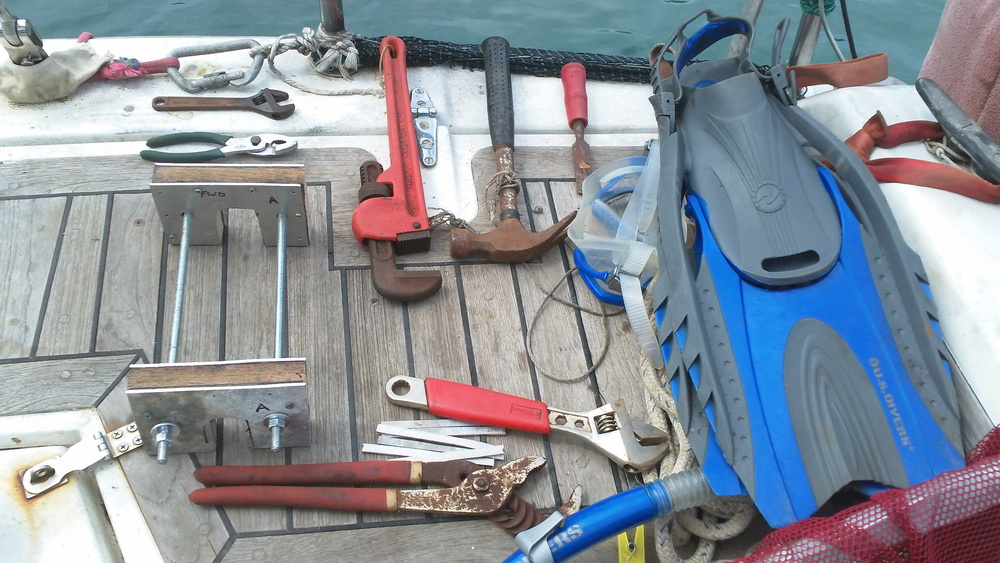
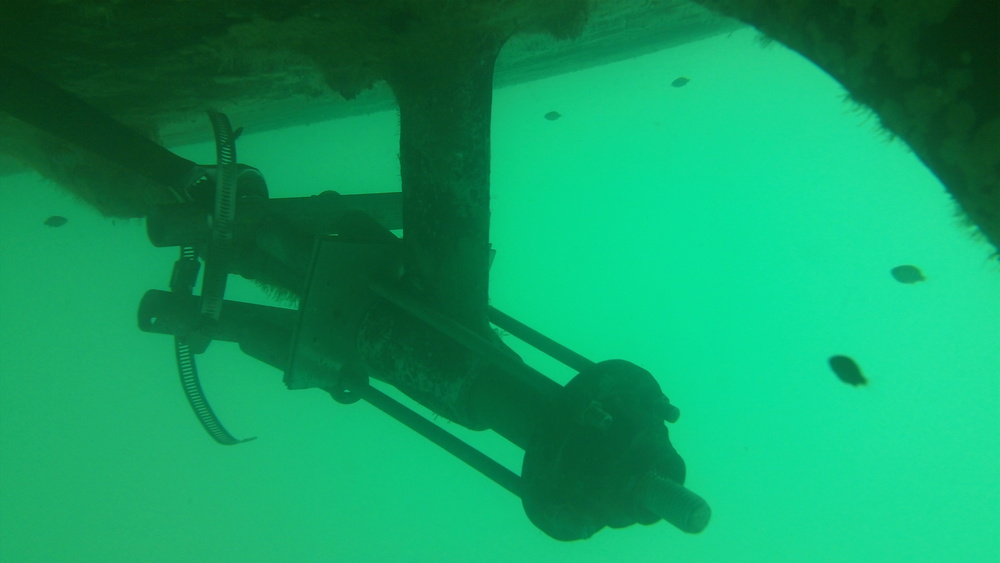
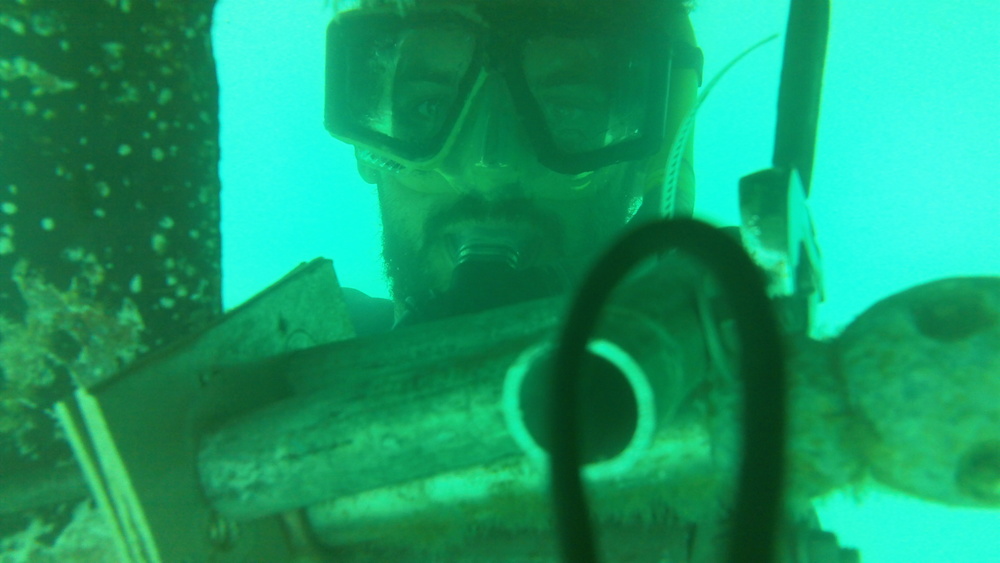
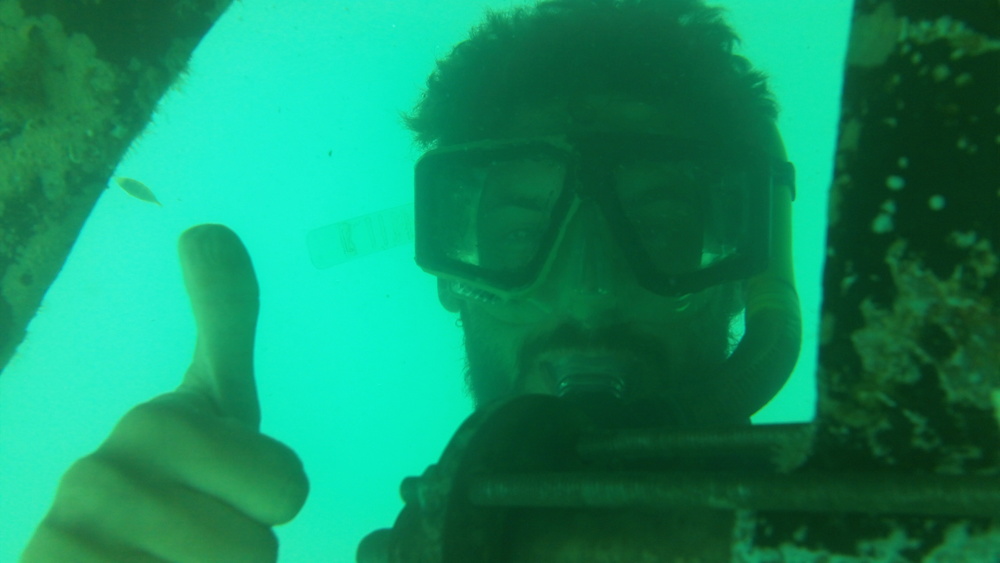
After my adventure in anxiety out at the Ladrones, I dropped my anchor in a small sandy cove on Isla Parida and set up camp, prepared to stay until the food ran out. Ahead of me lay unwatched days without time, place, or distraction. My list of personal ambitions was extensive, but as always, the boat comes first. I laid out the entirety of my tool supply on Harmony’s settee almost immediately and began what I hoped to be my final return to operating on our engine’s drivetrain – the place where our propeller shaft exits the bottom of the boat. Nautical proctology, if you like.
This post is probably another one of those best appreciated by boat repair nerds.
Sometimes you just have to do it the hard way. If you have money or assistants – which require money or children, which also require money – maybe there’s a shorter path. Such advantages free this hypothetical wealthy job creator to compound his earnings into yet more time saving ventures. In this way, he is able to in one sense live several lifetimes’ worth inside the one we’re given.
When you face a tough job with limited resources, however, devaluing your own time is your only available path to success. Take this latest seaworthiness saga. When November comes, Harmony and I are leaving Panama and heading back toward Mexico and home. This is a whole different trip than the one that got us here. The short story is that it’ll be a 4,000 mile trip, half of which is uphill against wind and seas that get colder and taller as we progress.
Given the path ahead of us, we need the engine to be totally ready, and right now it’s not. The long and the short of it is that there’s too much vibration where the engine power meets the propeller shaft. This is in the family of problems we had back in La Paz when the transmission coupling fell off, but for a totally different reason. In this latest case, the vibration is being caused by a worn bushing in the strut (known as a cutless bearing) that holds the propeller shaft straight where it extends underneath the boat.
We had been told that our bearing was looking a little worn out back in Ilwaco when we started this trip, but we were still too green to understand its importance. Normally the bearing surrounds the prop shaft with a rifled hard rubber insulator, but ours is nearly gone and when it goes we’ll face the carnage of high-revolution steel against bronze. As it has stood for the past six months, the propeller shaft chatters around inside the strut like a triangle dinner bell. It’s time to change the bearing.
Great! How do we do that? You’re supposed to haul out the boat? I see. We can’t really afford that. Oh, but there’s a tool some company builds that lets you swap one out in situ? That sounds promising. Oh, $400? Hmm. No no, I can see where investing in a tool like this will pay dividends in the long run, of course. Yes, but it is quite a lot of money, and really when you think about it you’ve only just made a portable press, haven’t you? Oh I am very impressed with your precision-machined approach, but I think I could build one of those that’s just good enough using the scrap material presently onboard my boat. You’d like to see me try, eh?
I’m not sure who yet, but one of us will probably be sorry.
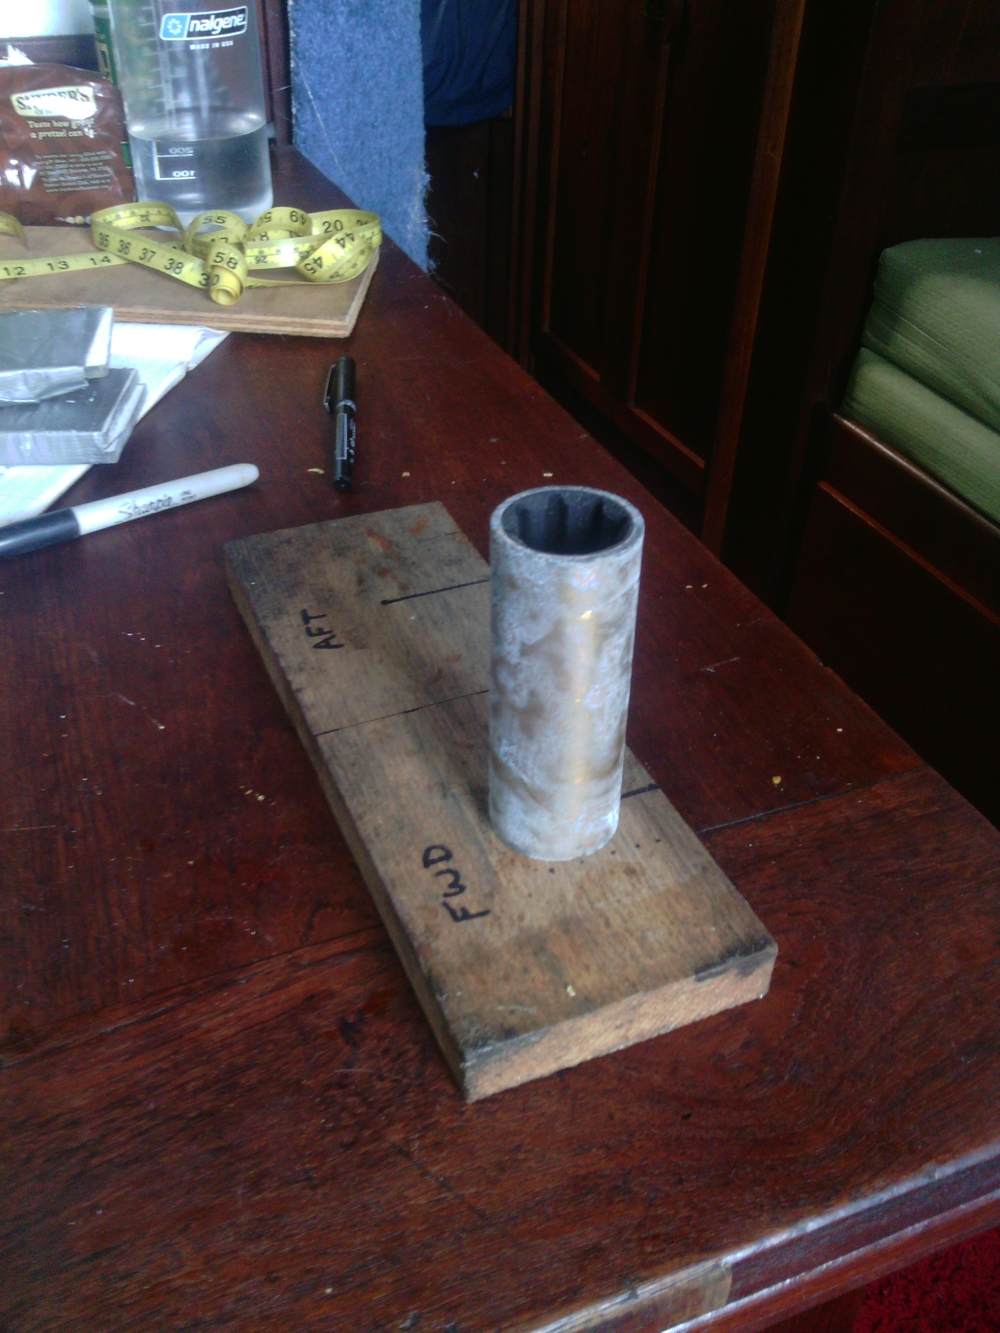
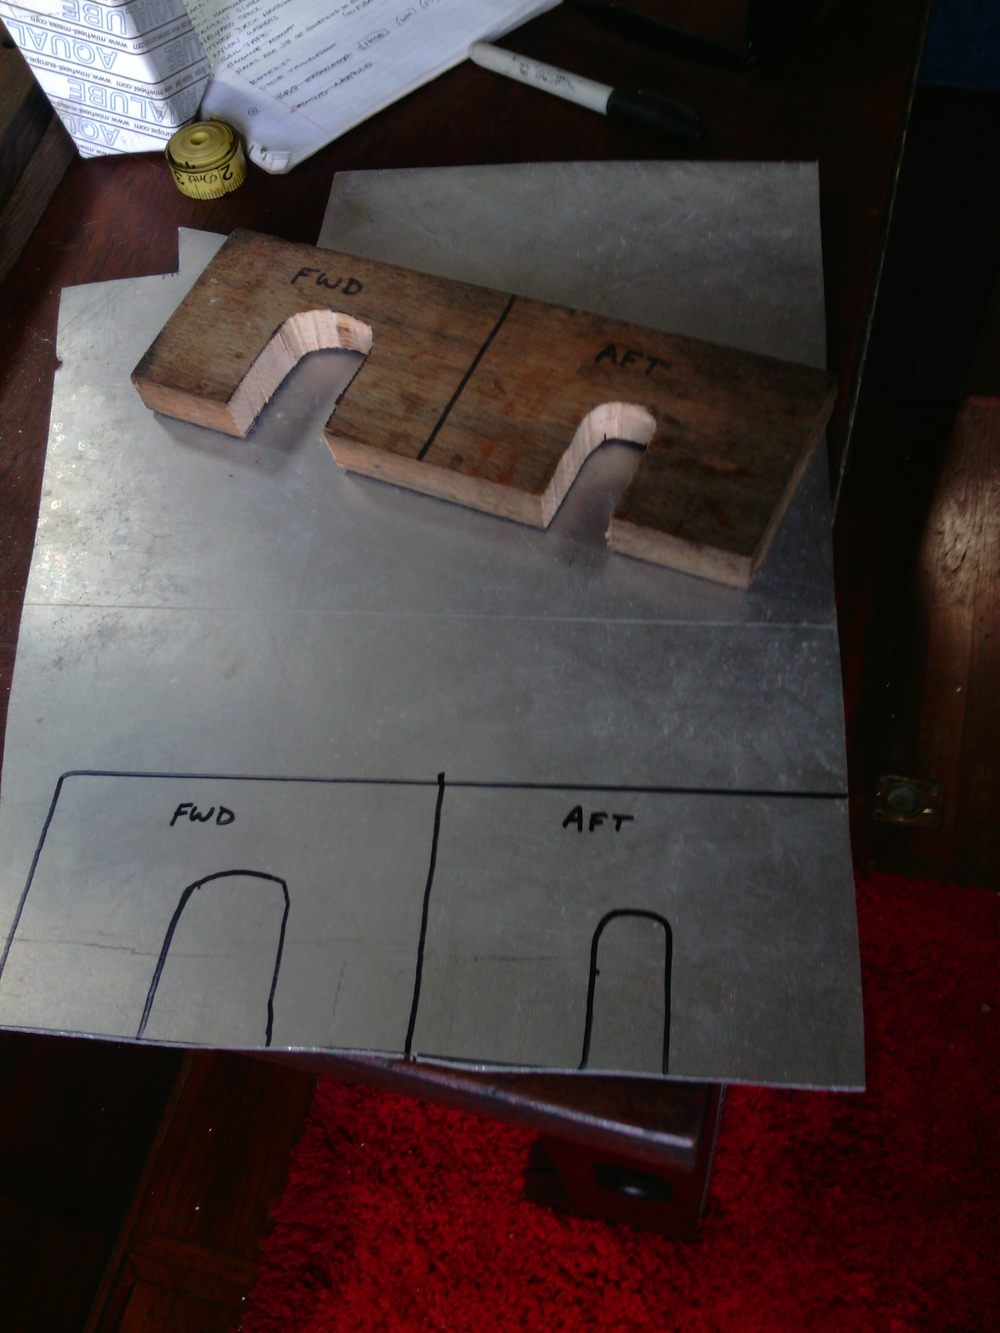
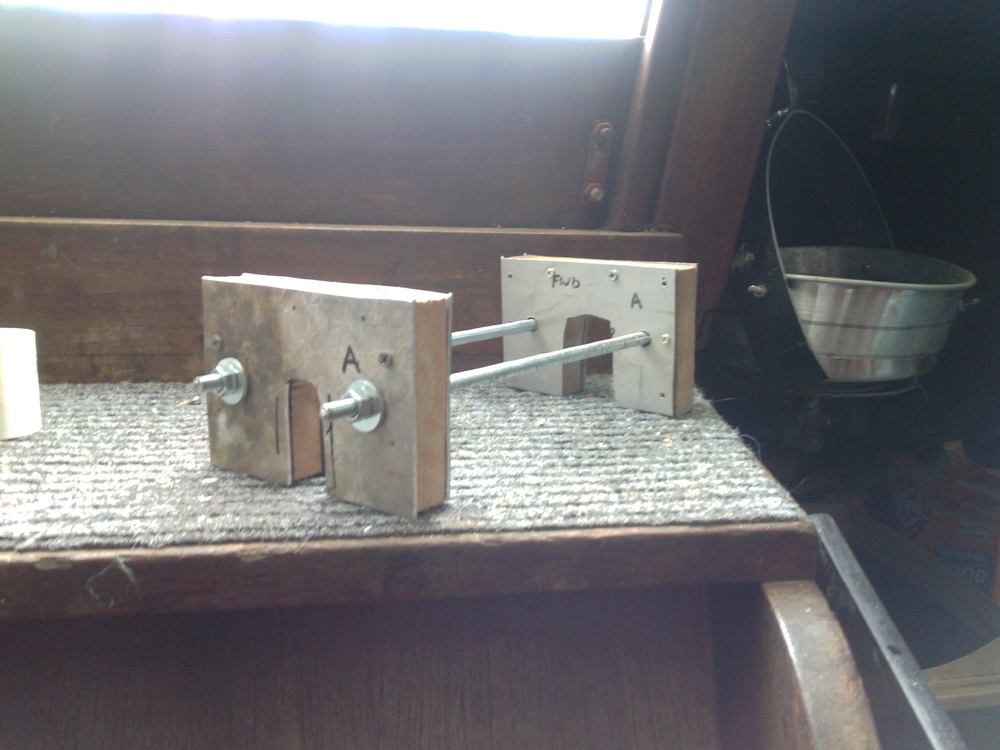
The first foray at building the cutless bearing swapping tool was carefully assembled from the pages of a design notebook. All measurements were precise, but certain physics were still experimental and my tools were rudimentary. The prototype Mark 1 Portable Press featured attractive configurations of first-generation materials (i.e., components that are coming from the scrap pile for the first time and have not previously been put to other service) such as aluminum, close-grain wood, and fresh nuts and washers on slender threaded rod. As a budger to push out the old bushing, the Mark 1 utilized that great equalizer in the engineering game: PVC.
After hours of careful shaping with time-tested hand tools, the Mark 1 was ready for installation and first testing. I spent a noticeable proportion of my day holding my breath to get things arranged just right, and my back, arms, feet, and hands were sliced and diced by the razor-like wildlife residing on the underside of our hull. As I apply pressure on the old cutless bearing, the wood and aluminum sandwich plate starts to bow in the middle almost immediately, and the PVC threatens to cave in under pressure. The bushing does not move a millimeter.
What you must not fail to understand is that this isn’t engineering, it’s science. In engineering, the joke goes that the response to uncertainty is to overbuild. Don’t know if that girder will hold? Put another one in there, twice as thick. Worried about erosion? Just build a big rock toe, that’ll solve it.
By contrast, science is about a series of instructional failures (says the English major). My goal often tends to hone in on the most efficient way to accomplish the task at hand, and that includes using the bare minimum of heavy or expensive materials for a single-use job. The Mark 1 proved, scientifically, that wood, aluminum, and plastic are not the appropriate materials to force a brass cylinder out of a 4-inch-deep bronze sleeve. We’ll just mark that prototype down as “successful” and move on.
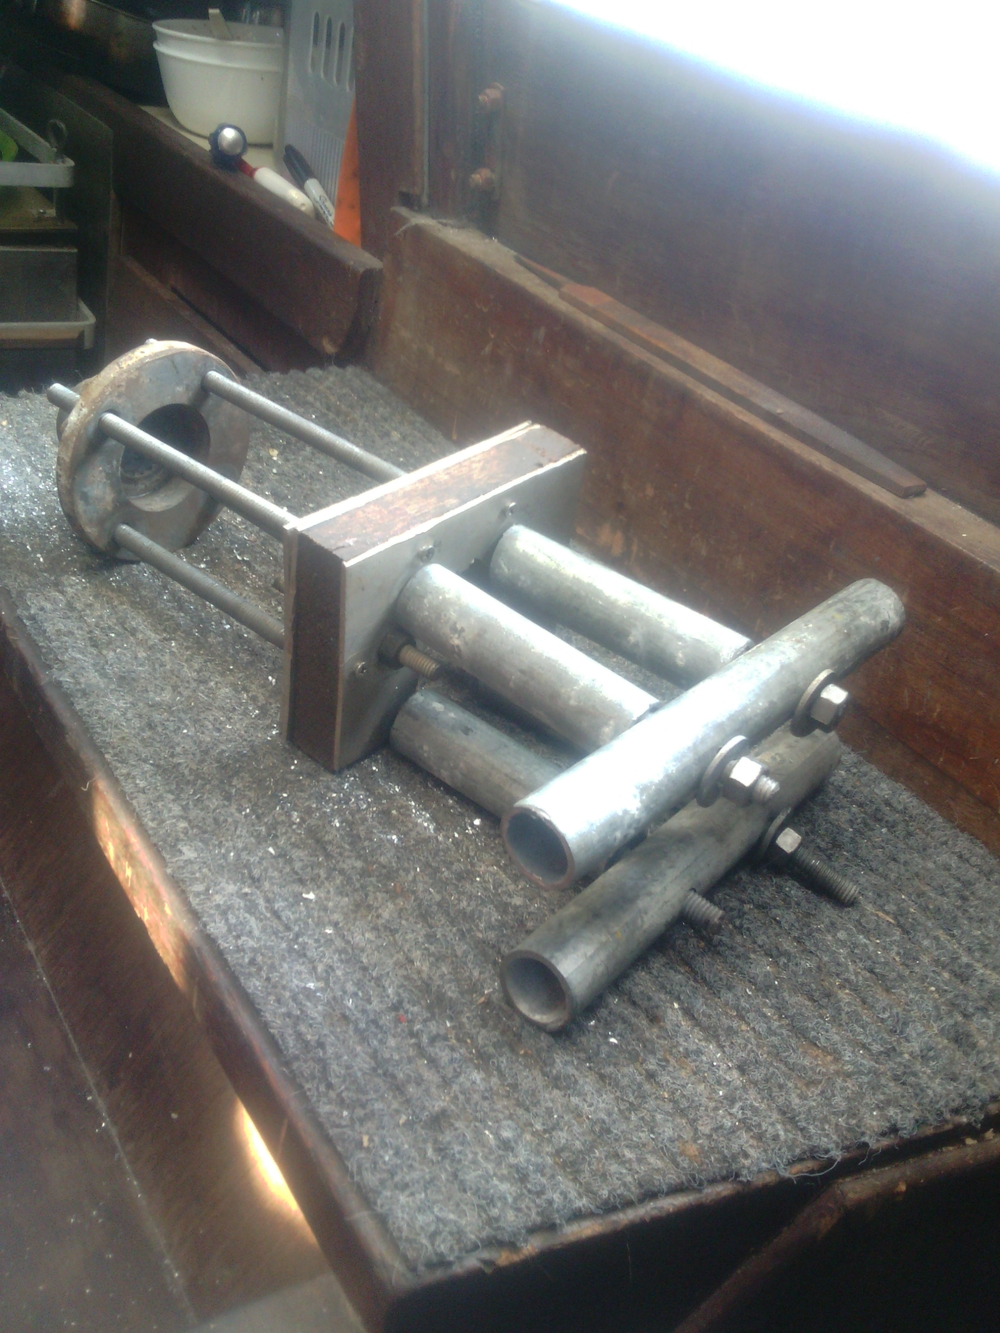
For Mark II, I had a flash of inspiration. I remembered that we’d saved the old transmission coupling that fell off the back of our engine a year and a half ago, that it was the perfect size to fit around the prop shaft and push on the bearing, and it was made of heavy steel. It was perfect. Now what can I make for the other side of the press that won’t just fold in on itself like the wood and aluminum sandwich? Hmmm.
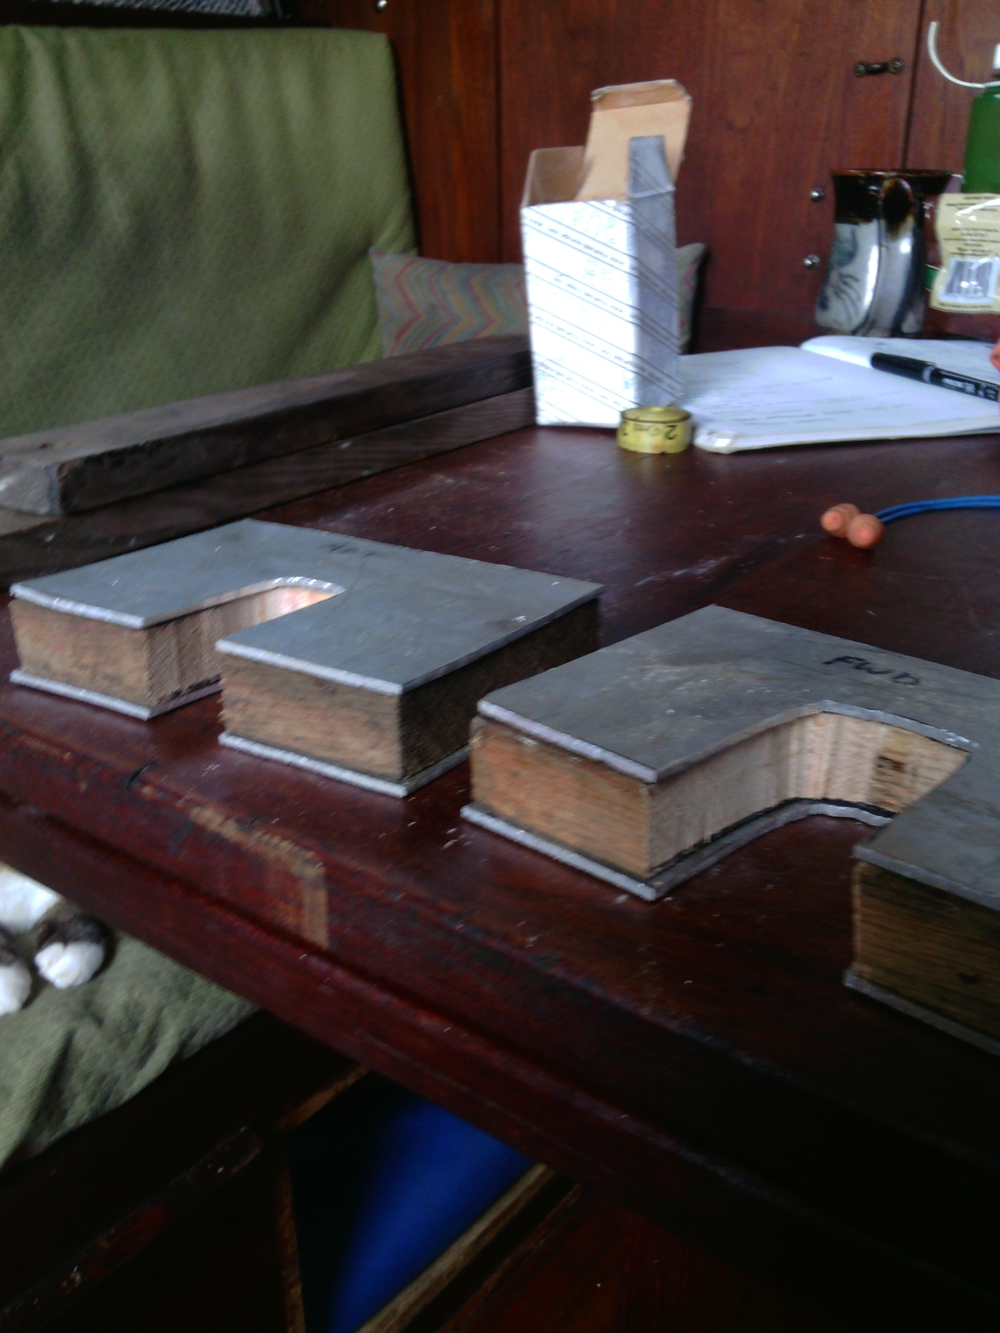
I still used wood and aluminum, but like a good engineer I made it double thick. Mark II succeeded where Mark 1 could not. The old bushing moved about a half-centimeter before it succumbed to Mark 1’s inescapable flaw: one corner of the wood and aluminum plate collapsed on itself under strain. Rats!
What’s more, Mark II involved removing the propeller to slide the old transmission coupling up the prop shaft, so now my tool is mangled and I’ve wasted all this time! I should have just bought that stupid $400 tool! Think what all this time I’ve spent on this silly pursuit would have been worth if I was working on my computer right now! I could buy two of those stupid tools and use one to hang my dish rags! Heck I could probably have hired a diver too, with a SCUBA TANK! I am the most economically backwards stupidman. Add it to the list.
Well those are all salient points but I don’t want to play your accounting game right now, Economics Man! I am going to throw myself at this stupid problem because it’s my survival and I want to do it. Maybe there are more important things than capital maximization of time. Maybe I will be slinging Amway when I’m 80 because I spent my prime earning years working under boats in tropical climates instead of devoting the hours to the economy and buying special bearing removal tools. If you think I’m being foolish and investing in depreciating things, then I would submit that not all assets have been tallied. So yeah! Stick that in your tailpipe!
What a minute. Pipe.
Say hello to Mark III.
What you see in the photos above still isn’t the finished tool. Once I fitted the new press around the strut and lined up the cutless bearing, I was surprised to discover that the bolts were no longer long enough to span the necessary area. Well shit. I dismantled the Mark III and removed the last remaining piece of wood, birthing the Mark IV.
No matter the precision of my measurements, the complexity of my design, or the depth of my preparation, every tool I have ever constructed has ultimately depended on adaptation. This tool was now like George Washington’s axe and Theseus’ boat: replaced piece by piece until only the spirit of the idea remains.
I swam under the boat again and snugged the tool in place by tightening the eight bolts with my fingers. The alignment was close enough to not let perfect be the enemy of the good. I collected two wrenches and torqued them until the aluminum plates curved and the tool began to make high pitched tinging noises with every quarter turn of a nut. Either it was working or it was about to explode. I looked at the back end of the strut and blew very happy bubbles when I discovered the barest piece of the old cutless bearing poking out of its collar. After much failure, finally success.
Now began the long process of pressing the old bearing out as the new bearing was pressed in. The surface friction of press-fit metal on metal across a 4″ deep span is significant. A hammer won’t budge it, but the press is able to use the wormdrive feature of threaded bolts to put high pressure in small increments equally around the pressed surface. In practical terms, this means I spent the next three days slowly tightening the four bolts round-robin style, at an estimated rate of one centimeter per hour. Hour upon hour, morning to evening, I spent under the boat with my crescent wrench and leverage bar.
On the port side I was able to wrap my legs around the rudder and arch my back to draw air from my snorkel, then contract downward to gain a position of advantage on the bolts. On the starboard side I wasn’t able to use the rudder in the same way, so I eventually settled on positioning myself vertically with the top of my head propped against the underside of the hull, holding my breath and looking like a helium balloon trapped against a ceiling. I set the stereo to rotate through three beat-heavy songs on full blast to reverberate through the hull. After two years of the same playlist, there are times when it is difficult to find tolerable accompaniment, but the hundreds of tiny and larger fish swimming around the boat didn’t seem to mind.
The days slid past in an oscillation between time spent above the water in recuperation and time below holding my breath and conversing with myself, our boat, and my handmade tool, cautiously congratulating the latter for its continued resistance to self-destruction and afraid to look at it too close lest I invite some puckish water spirit to humble me for a laugh.
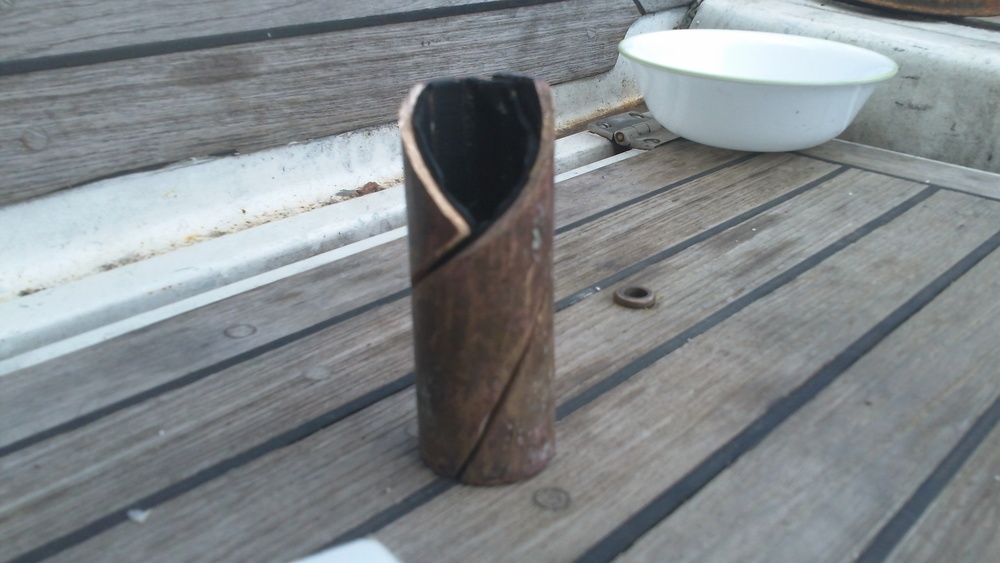
I got into a rhythm, and the rate of movement increased. At last the time came when the pushing disc kissed the face of the strut. The cutless bearing was replaced. All that was left to do now was to cut the freefloating old bearing off the prop shaft with a hacksaw and reinstall the propeller. Accomplishing both only took about half a day, and we were back in business.
It was hard, time-consuming, fiscally foolhardy work, but it was oh so satisfying to hear the difference when I put our engine into gear again for the first time. Smooth, quiet, calming. We’re ready. There’s nothing left to do now but enjoy the passage of time.
————————————————
If you’re out there and you’re contemplating a similar project, here were the final design specs of the Scrappy Press, Mark IV:
4 sections of 3/8″ threaded rod, each 14″ long
8 x nuts and washers to fit the rod.
Front-end pushing plate (aft side of the strut, in my case): Transmission output coupling from my engine. The coupling I used was an onboard spare, but in an emergency, financial or otherwise, I would have felt fine about using my actual coupling and dousing it with WD-40 after use. Using a full circular pusher like this will require you to push the old bearing out the forward end of your strut (opposite the propeller end) and cut it off with a hacksaw.
Back-end plate: Aluminum plates (4 x 1/8″) with a U-shaped cutout large enough to allow the old cutless bearing to slide past, but not so large that it can’t rest against the back face of the strut. Drill four 3/8″ holes in line with the holes in the front-end plate.
Budger: The new cutless bearing. This may be a controversial strategy, as I’ve read of fears that compressing a new bearing could damage it. I had no such experience.
4 x sections of 4″ metal pipe (3/4″ electrical conduit)
2 x sections of 6″ metal pipe, each drilled with two holes the same distance apart as the front- and back-end plates.
To use:
If your existing cutless bearing is held inside the strut with set screws, remove those (likely requires an allen wrench). Remove the propeller (two plumber’s pipe wrenches and a flywheel puller from an auto shop should do the trick).
Slide your new cutless bearing up the prop shaft until it rests against the old cutless bearing. Install the portable press, align properly, and tighten the bolts incrementally, no more than four turns at a time. If one bolt gets difficult to turn, move to another. Put a section of pipe around the handle of your wrench if more leverage is required.
When the bearing is changed out, cut off the old one with a hacksaw in a corkscrew fashion. Reinstall propeller.
"When you face a tough job with limited resources, however, devaluing your own time is your only available path to success." Got a good chuckle out of that, cool post!
I enjoyed this way too much. You guys are awesome & your boat-fixing stories are the best!
🙂
PS – congratulations on completing your voyage. When’s the next one?
Wow. You u are one determined s.o.b. Just sayin!!!!
You’re damn right.
Awesome Incredible! I have changed two cutless bearing on the hard. One was really tough 1.38" shaft and I didn’t have the breathing problem you were faced with. I would not even think about trying what you did without even a gofor or cheering crowd on deck.
Jeff you amaze me. Thanks for this post