The Raytheon corporation has been in existence since 1922 and maintains a primary business of government defense contracting. They are the fifth largest military contractor in the world with over 90% of their revenue coming from defense work, responsible for such products as radar systems, missile defense systems, communication satellites, and missiles themselves. They also happen to make relatively inexpensive autopilots for sailboats.
**source:Wikipedia – wouldn’t want anyone to accuse me of doing actual research.
At some point along the way, one of the engineers must have looked at the collection of state of the art equipment around him and thought, “This would be awesome on my boat.” When he emerged from his hobby garage a few weeks later with the first electronic autopilot, the management must have looked at the simple combination of compass, electric push ram, and logic controller and said, “Sure, we’ll sell that.” Little did they know that fateful day that they would be damning a small division of their mammoth organization to forever thereafter have to deal with needy boaters with broken equipment in inconvenient ports around the world.
We have had the Doctor, our Raymarine ST2000+ autopilot, break on us three times in the 4,000 miles since we left home. The first failure involved some kind of inability for the electronic fluxgate compass to accurately read our heading. The succeeding two times, the primary symptom was that the pilot could push the tiller, but not pull.
For the first repair, we waited anxiously in Morro Bay for 5 days while the Doc flew to the Raymarine repair facility in New Hampshire for a very prompt turnaround. The second time, we were three days into a 7 day passage of mainland Mexico, so I opted to crack open the case and MacGyver a fix myself. This repair was effective for several hundred more miles until our last passage after one too many squalls, which brings us to today’s photo tour and a more robust repair.
Join me on an adventure in voided warranty!
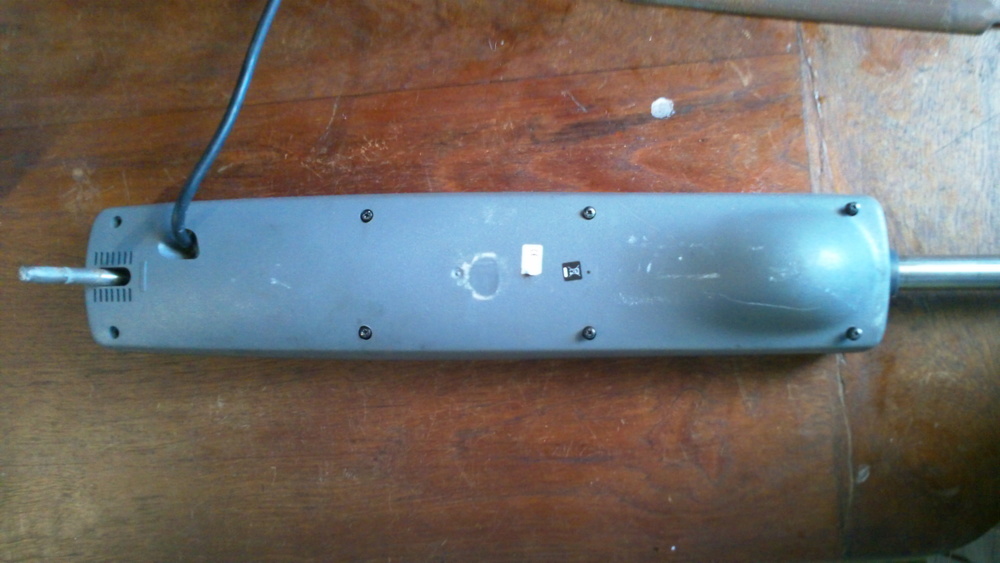 First off, I removed the 8 screws on the underside of the unit and cracked the case. There’s a rubber gasket seal ringing the unit, but it’s easily removable and replaceable.
 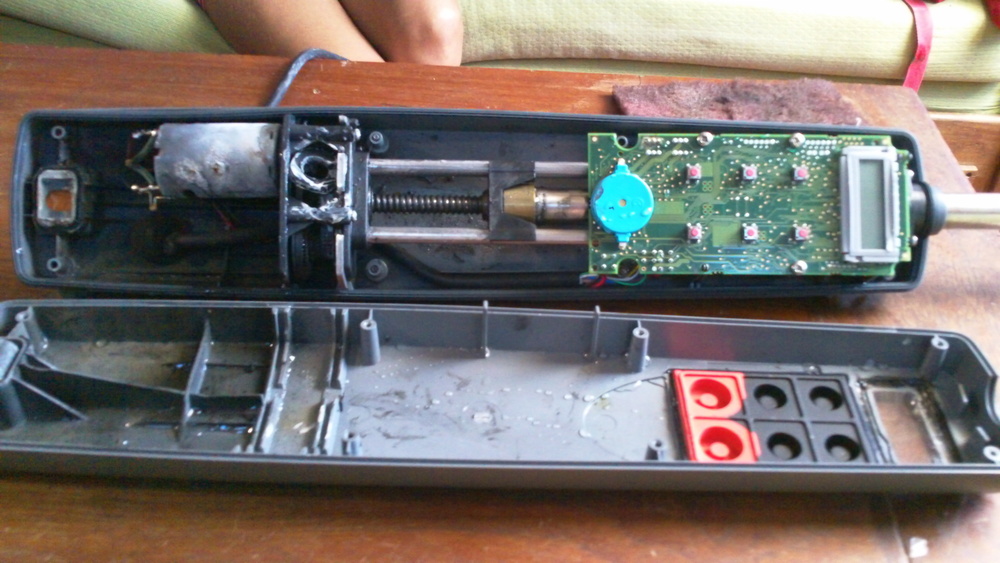 The case is open. This is what $500 buys you. On the left is the electric motor, followed by the gear assembly, the ram assembly, and the circuit board. We’ll be focusing on the gear assembly today.
 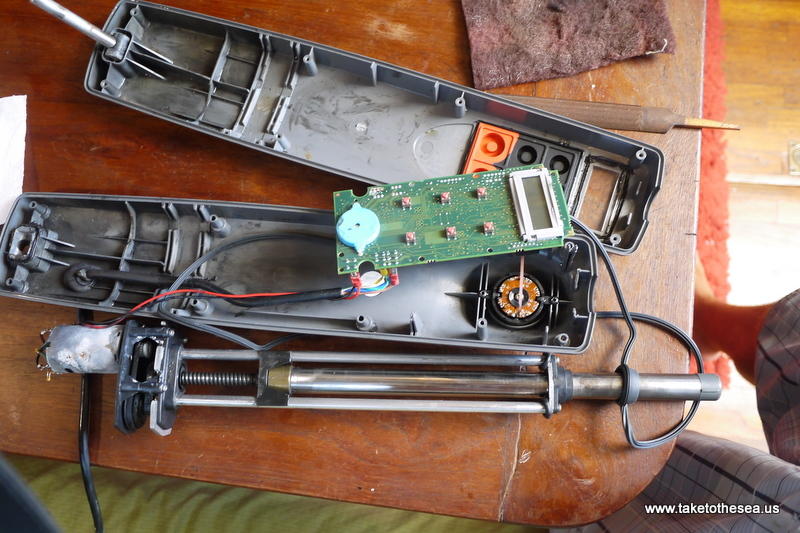 I removed the 3 screws holding down the circuit board, tilted it up, and and the motor/gear/ram assembly slides up and out. The round shiny thing in the center-right is the fluxgate compass, which for the purposes of this tour will remain powered by voodoo and untouched.
 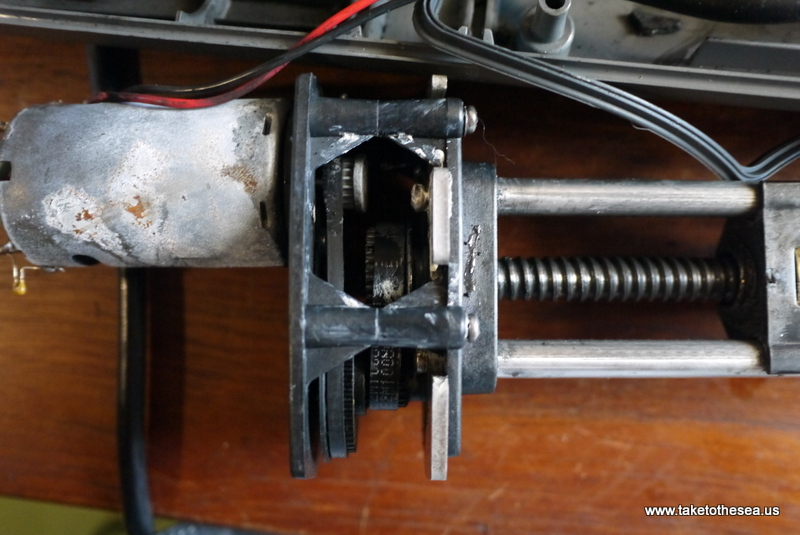 Here’s the first of a pair of photos illustrating the nature of the Doc’s problem. See how the rubber belts are more or less in alignment between the gears? This is necessary to allow full power when cranking the pushrod in and out. Notice that there’s a bit of a gap behind the right-hand upper metal sprocket. This is where some kind of washer or bushing used to be, until it was worn away to rubbery slivers under prolonged operation. I suspect that this was the “planned obsolescence” element of the autopilot design.
 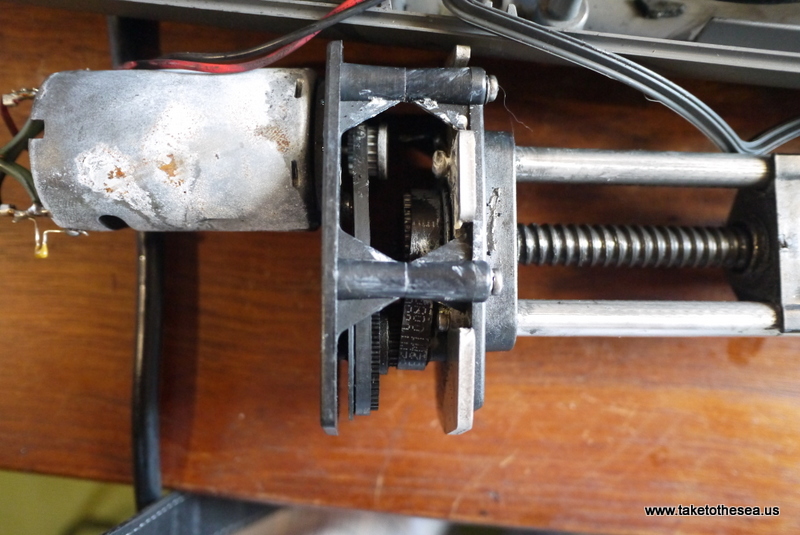 Here is what happens when the autopilot tries to pull the tiller without that bushing behind the big sprocket. This is all it takes for the pilot to lose nearly all pulling power. It also likely will wear down the rubber belt over time if left unaddressed. The primary indicator for this problem prior to cracking the case was that I could grab the push rod and wiggle it in and out with nearly an inch of play. That was the sprocket moving in and out within the gear assembly. To fix this problem, we’ll need to install a new bushing.
 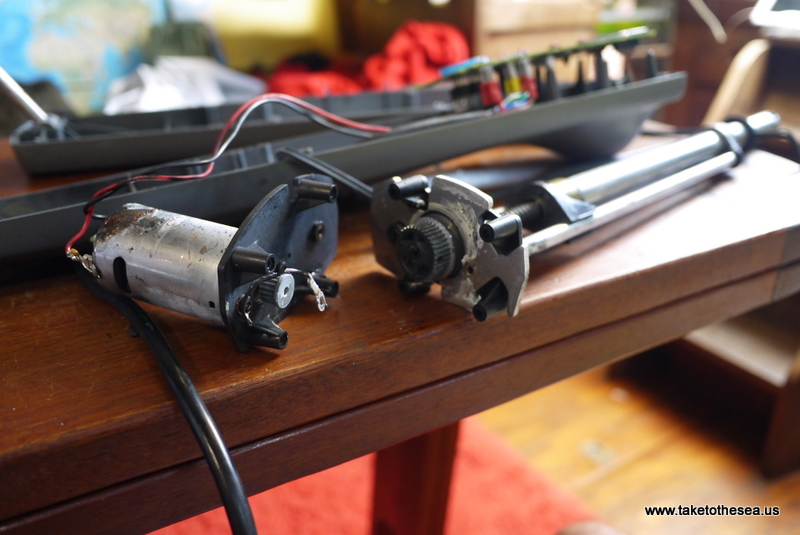 There are four screws holding the gear assembly together, plus one screw that attaches the motor ground wire to the right-hand backing plate. Once removed, the two-gear plastic sprocket and the two belts can slide out. The ram assembly is now fully disconnected from the autopilot unit.
 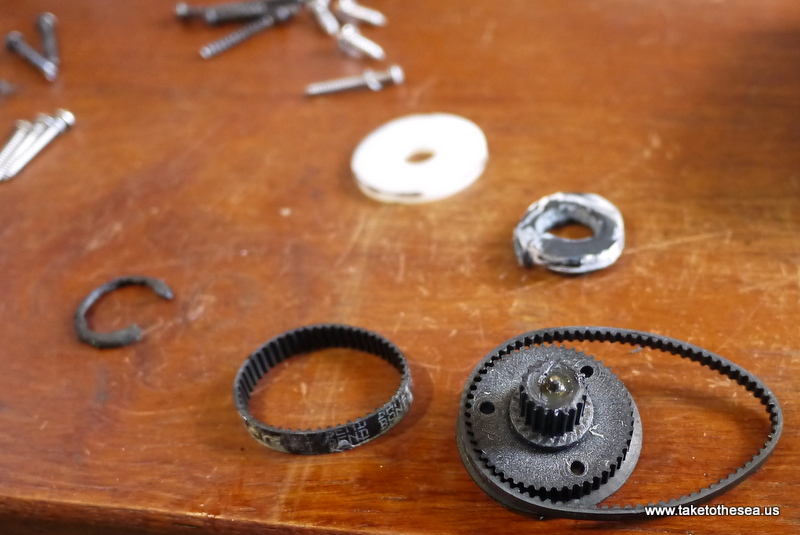 The dual-gear sprocket and belts. The white donut is a nylon washer I had kicking around the junk bin, which will become the new bushing. The black rubber donut with the slit in it was the temporary bushing I MacGyvered on our Mexican passage. The last squall must have wiggled it out of place, so this time around I’ll be going for something that won’t pop out as easily. Harmony tried to buy a spare parts kit from the Raymarine service shop, and the bemused engineer on the phone responded, “We don’t sell spare parts here, but why not just buy the smaller ST1000 and use it for parts when you need it? It’s not expensive – only around $500.” Contractors.
 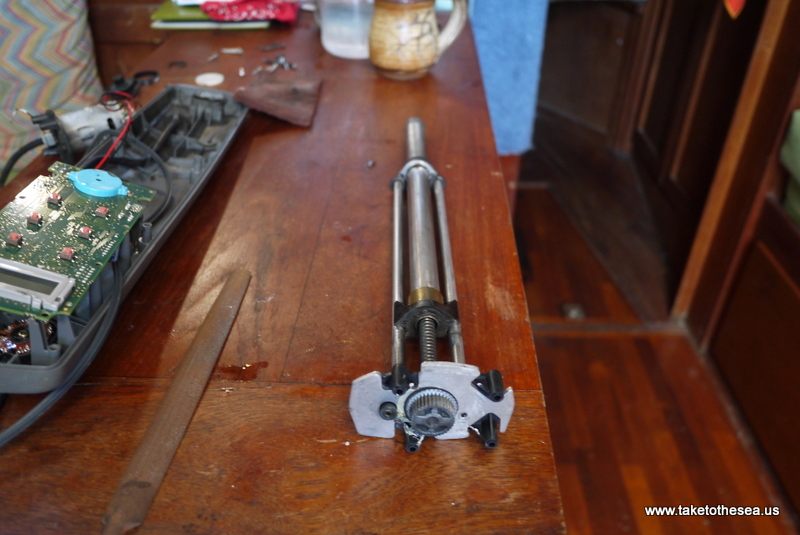 The ram assembly. The gear turns the wormdrive (long screw), which in turn slides the pushrod in and out. The wormdrive is a pretty powerful design that only needs minimal drive from the small electric motor in the unit. My suspicion is that the ST1000 is the same as the ST2000, only with a slightly smaller motor. Don’t quote me on that though.
 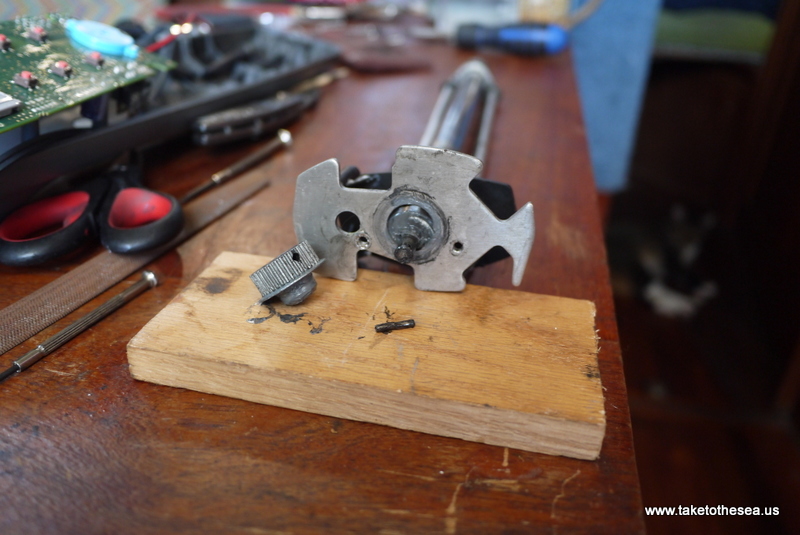 I removed the set pin from the hole in the sprocket using a jeweler’s screwdriver, a hammer, and gentle persuasion. The sprocket itself slides off the post with help from two wrenches and a little jiggling.
 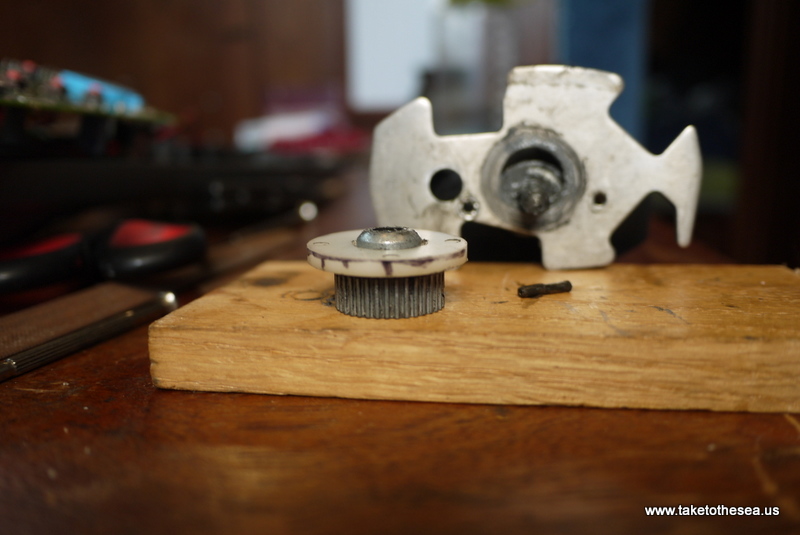 I reamed out the center of the nylon washer using a round metal file until it fit over the sprocket hub. I ultimately had to shave down the outer diameter of the washer as well, because as pictured it was too wide and covered two of the screw holes in the backing plate.
 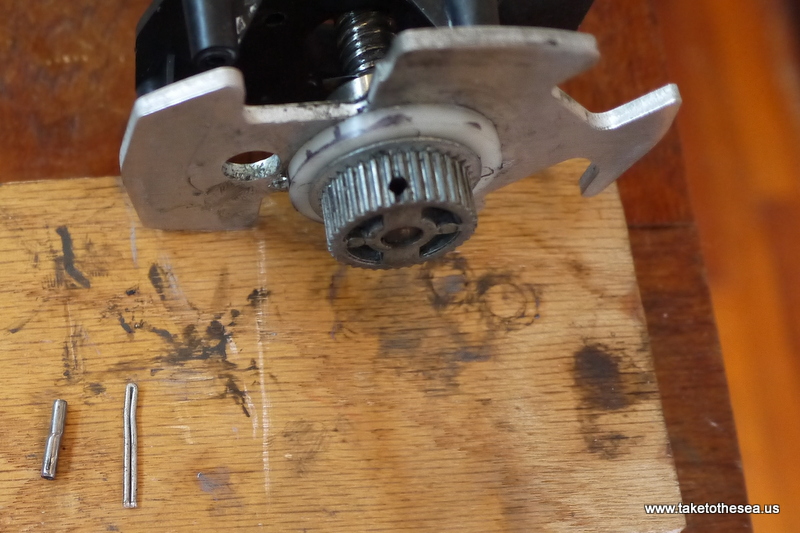 Sprocket and bushing reinstalled. You can see in the lower-left that the set pin got bent during removal. I replaced it with a folded piece of stainless steel seizing wired, which fit snug and tapped in smoothly with a hammer.
 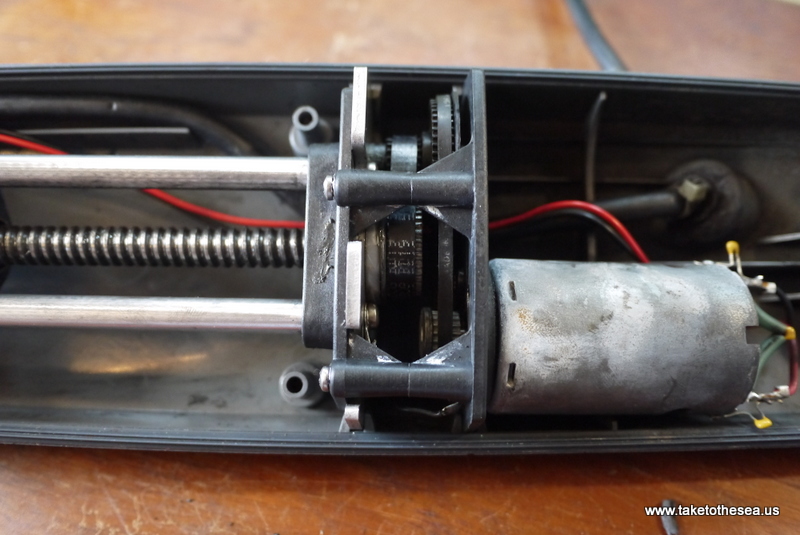 The gear assembly reassembled. You can just make out the new bushing on the left side of the assembly. Before reinstalling, I wiped off the old black grease and daubed on some winch grease to reduce friction. The new bushing greatly reduced the amount of play in the pushrod and keeps the gears and belts in alignment.
 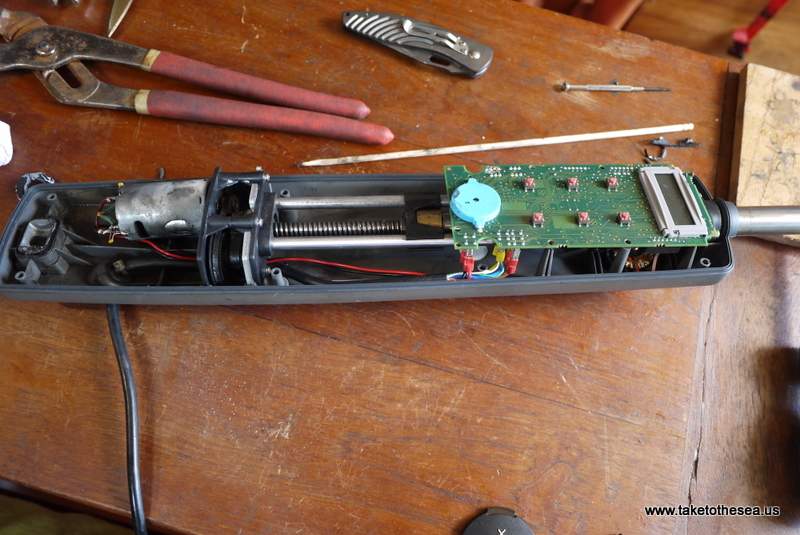 The rest of the unit reassembled. It took a little finagling to figure out where all the wires are supposed to run so that the circuit board would fit back down easily.
 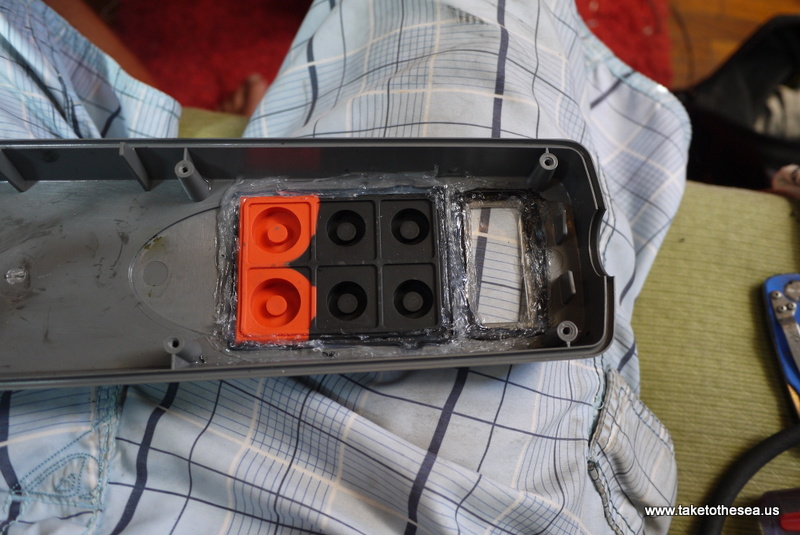 While I was at it, I put a fresh layer of silicone around the screen and buttons in the top half of the unit. When I opened up the case, a small pool of water was sitting inside, no doubt the result of the heavy rains during the squalls on the last passage. It turns out it might have been a good thing the Doctor kaputzed when it did, otherwise we may have been at risk for a moisture short circuit.
 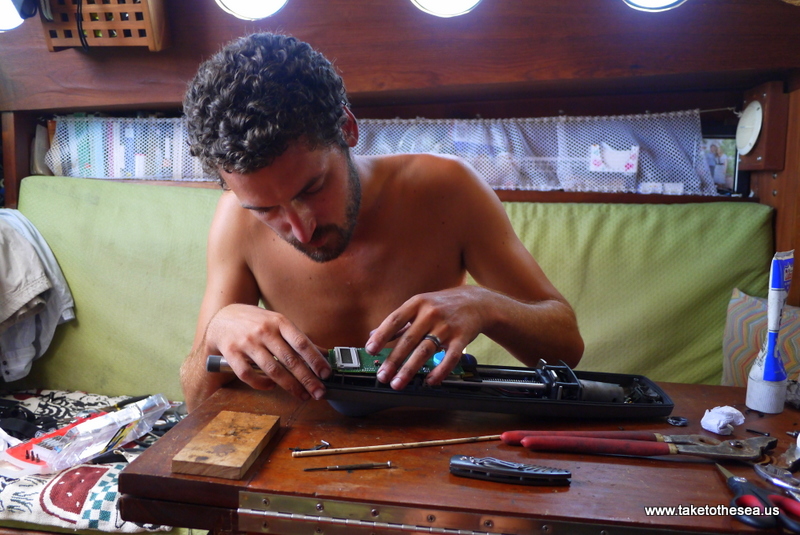 Fitting the last pieces.
 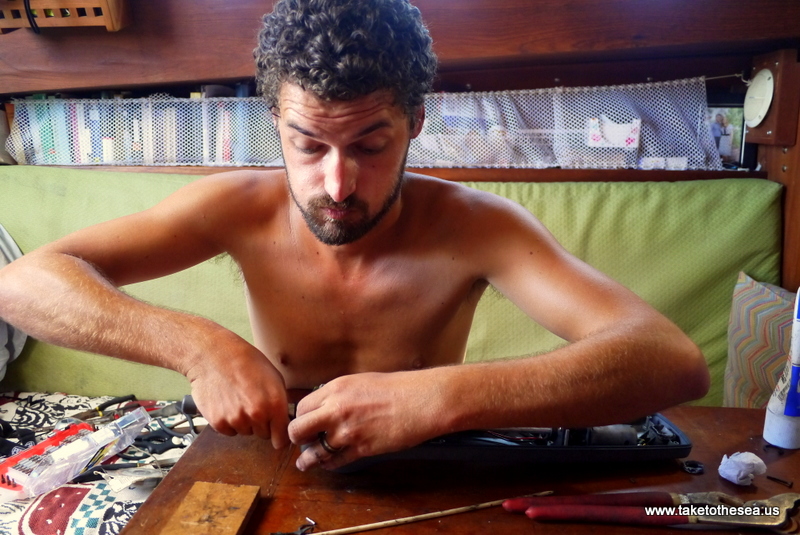 Come on you son of a — All in all, the repair process took a little over an hour and was very mechanically straightforward. Once fully reassembled, I plugged it in and tested it and was pleased to see that the Doctor can once again play tug of war with the best of them. I neglected to take a final photo of the reassembled unit, but suffice to say that it looks like an autopilot.
 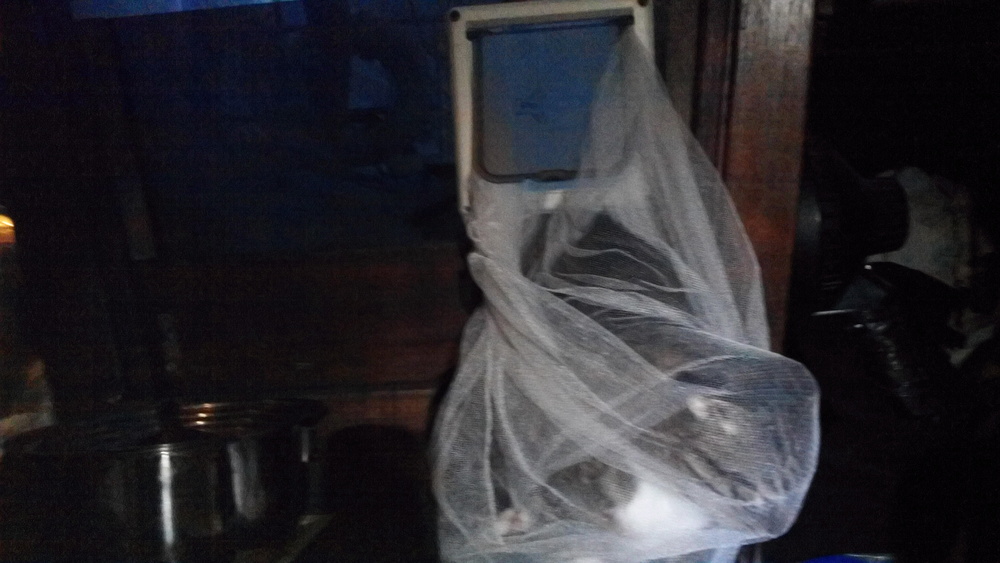 Hopefully this walkthrough proves helpful to somebody someday with the same problem and no convenient access to a shipping center. If you don’t have a Raymarine autopilot and you read this anyway, here is a picture of our cat trapped in a mosquito net for your consolation and entertainment.
That is good as it gets, MacGyver Jeff. Excellent bootleg repair (fingers crossed), looks to me, anyway. A backup unit might be worth it, in the long run. You could swap the new one for this one and use the repaired unit as backup if needed. Looked like salt water was beginning to affect the servo motor housing on this one.
What a brave operation. I might have surrendered the whole thing to the repair facility again, but now that I’ve seen the interior (minus the voodoo circuit board and compass) it looks totally doable. The photos and description of your steps are excellent, and the post has been promptly saved for future reference. Thank you for trailblazing this DIY salon surgery.
Excellent job !
-Sven
Jeff, after following your blog and reading about some of you engineering exploits this showed what you are really capable of. Well done with very good description.